First up, can we just say a very large, thank you 💛
It's people like you sharing your Space(s) who make SpacetoCo what it is!
Being prepared
Here are some essential things you should have ready when listing a Space:
- Photographs - high-quality images that show off your space are best.
- Description - Having a unique, pre-prepared description is really important.
- Rules - have your top 5, non-negotiable rules in mind.
- Amenities - think about the features you want to draw attention to.
Getting started with adding your first space
Step 1:
Visit our Hosts page.
Step 2
Click on any of the buttons that prompt you to Add a Space.
Once you see the screen below, congrats! You're on your way 👏
There are 9 initial steps to create a Space
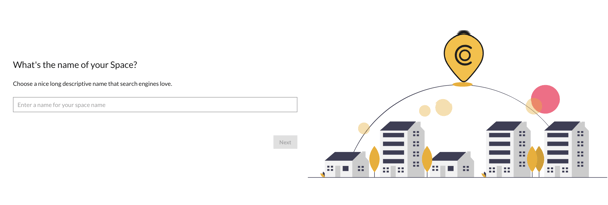
- Name of your Space
- Address of your Space
- Number of people the Space can accommodate
- Type of Space booking (activities) your Space is suitable for
- Amenities your Space has
- Open and close times for your Space
- Hourly price for your Space
- Photos of your Space
- Description of your Space
Managing your Space
Once you have completed the basics above you will be taken to the Manage Space area of the SpacetoCo Dashboard. Click here to learn more.
To access the Spaces area at any time, you will need to head over to your SpacetoCo Dashboard. To do this, simply click on 'Dashboard' in the main yellow bar at the top of the screen on any www.spacetoco.com webpage.
Once you're in your Dashboard, simply click on 'Spaces'.

Payout Details:
Before you can make any space go live, you must first set up your payout details. This is so you can be paid for any bookings.

For information on how to add your bank details, please click here.