This way of making a booking is only applicable if the following applies:
A) You are a regular customer of a facility that manages its bookings through SpacetoCo. This means you have filled out the online form and opted to be charged by card or direct debit for your monthly bookings.
B) Your facility has granted you permission to make new bookings that will be added to your monthly invoices.
If you are not paying monthly for your bookings and would like to make a casual booking where you pay upfront, check out this article: How can I make a new Casual Booking.
How to add a new regular booking
First, choose your frequency of booking
In your dashboard, click the yellow button at the top left labelled '+ New Booking'. Here, you can choose to make a New single booking or New multi-booking.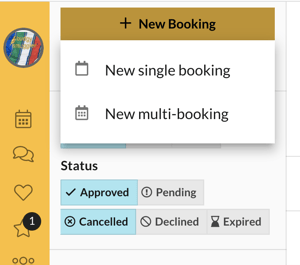
Making a single booking
Step 1
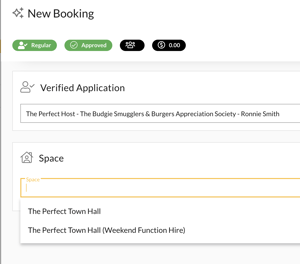
Step 2
Select the date that you would like to book. It will tell you what times are free in the room. If you can’t see the time you need, then swap the room and check for availability in that room.
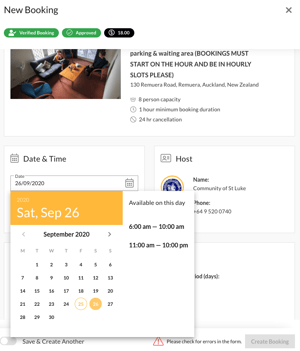
Step 3
Select the time that you need. Only available times are selectable.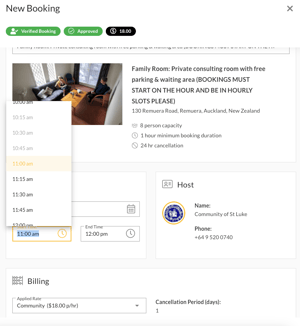
Step 4
Lastly, input how many attendees will be using the room.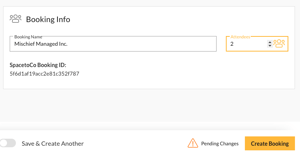
Step 5
Click 'Create Booking' and confirm the details.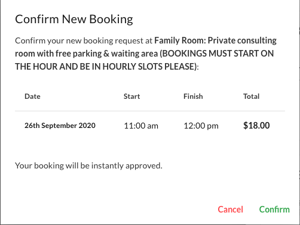
Making a multi-booking
Check out this quick video and the instructions below to see how multi-booking works:
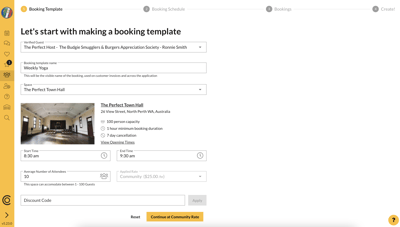
Step 1 - Booking Template
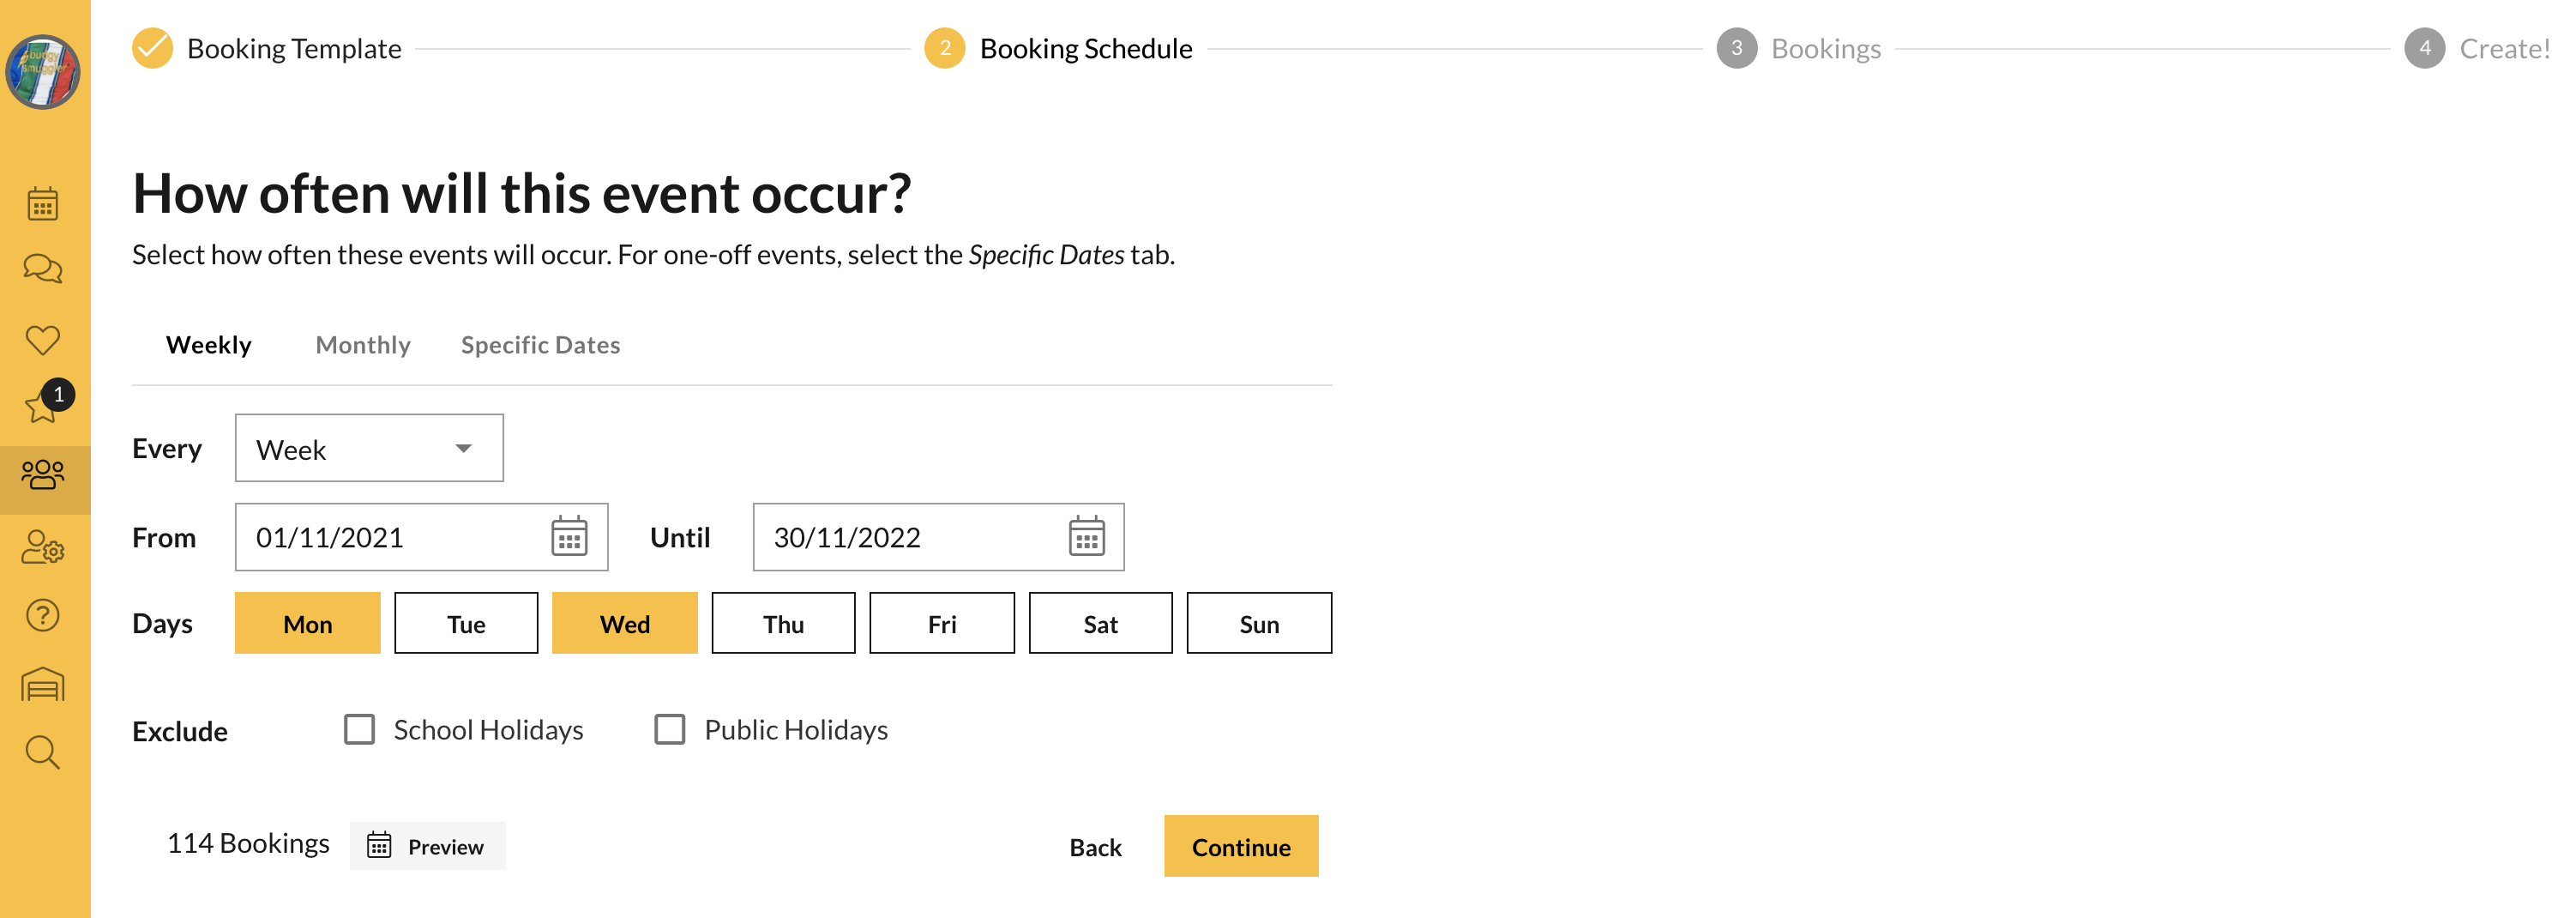
Step 2 - Booking Schedule
Select how often these events will occur. You can choose a weekly or month format, or for one-off events that may be scattered through the year, choose 'Specific Dates'.
Step 3 - Bookings & Availability
On this step, our system will confirm availability across your proposed schedule.
Step 4 - Create!
Last step
FAQ
Q. Why can't I add my own bookings?
A. Your host may not have given you permission to do so - contact them to enable this feature.
Q. Why am I being charged a different amount than what the host and I agreed on?
A. You may have the wrong rate on your booking template. If this is the case, contact the host to change the rate for you (or give you a discount code) before you make your booking.
Q. Why can I only see some of the dates/times I asked for and not others?
A. Some of these dates and times may be un-bookable because of prior bookings etc. You can either reschedule or do away with these unavailable dates altogether. Check the space's calendar to make sure the dates and times you choose are able to be booked.
Notes
- Invoices will be issued on a monthly basis for all regular bookings. Click here to learn more.
- To cancel a booking, click here to learn more.
- To edit or update your bookings, click here to learn more.